Today, 3D modeling outsourcing is one of the most demanded game development services, and Ukraine is becoming a more and more desirable destination for it. With this in mind, we decided it’s high time to write a guide about 3D character development, taking our internal Futuristic Soldier project as an example. In this article, our Lead 3D Artist Dmytro Bikus and Animator Yurii Harazha will share their experience in the full-cycle development of a 3D character: from conception and sculpting to texturing and animation.
Concept Art
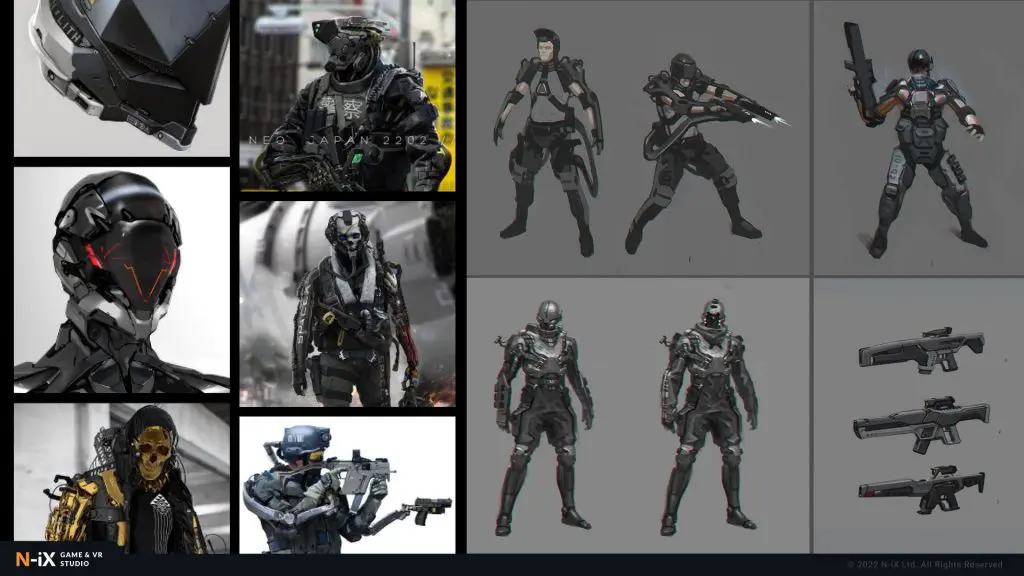
As with any other craft, the creation of a 3D model starts with a concept. This is a very crucial step since the concept serves as a foundation for future work, and it will likely save you lots of time and nerves. At the stage of concept development, we try to visualize our idea and think through the design of the character, which will reflect his behavior, habits, his history, etc.
The creation of a concept begins with finding references to pump up inspiration and preparing a mood board, on the basis of which further ideas for character design will be developed. Then, you should start creating several sketches that primarily reflect the silhouette and main features of the character. Such sketches are usually made in the form of black and white line art for a quick idea search. Don’t bother about the quality of art at this point – your task is to create several sketches until you come up with the one you really like. Then proceed with adding more details and colors, creating a more quality art that can become the foundation for the final model.
In the process of creating a concept, the artist takes into account the further stages of creating a character, how he will move, what elements should be separated, etc.
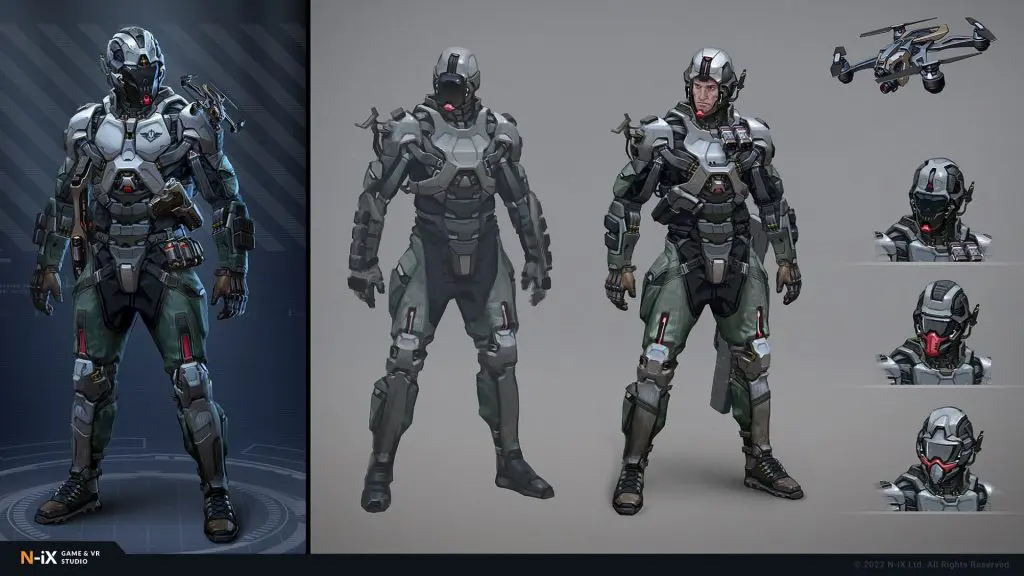
If we are talking about 3D modeling outsourcing, most of the clients will provide their own concepts of the model they wish to see in their game. Although it might limit your creative potential, this actually will save you a whole bunch of time, and you’ll still have room for personal input.
Sculpting
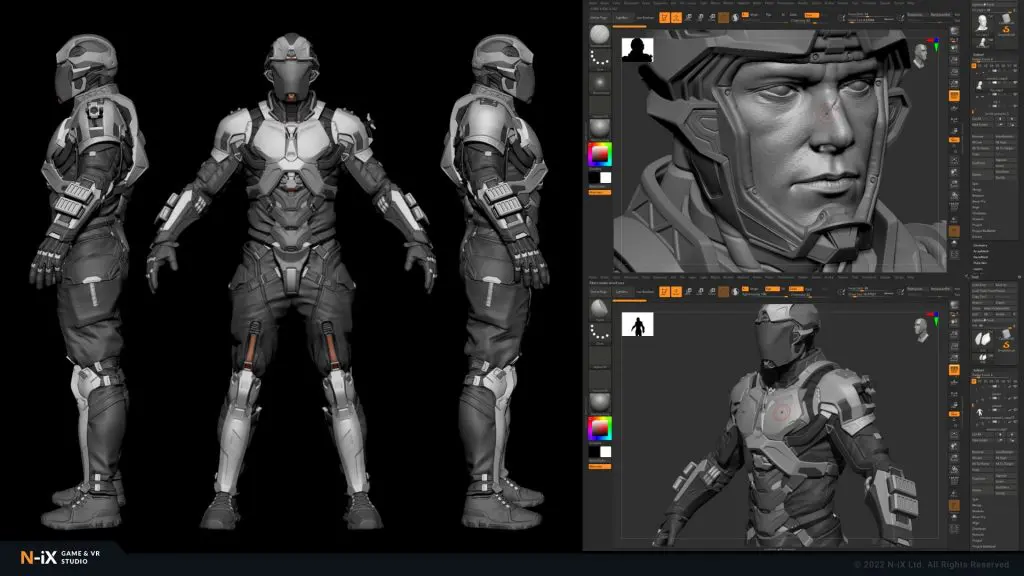
After the concept is approved, the 3D artist begins to create a 3D model of the character. As stems from its name, the sculpting process pretty much feels like working with clay, only in a digital space. First, a basic body blockout is created and the main forms and silhouette are worked out. At this stage, you can identify problems for animation and, if necessary, make corrections to the concept. Then, gradually, the 3D artist continues to work out the basic shapes and add large details, such as wrinkles, folds, muscles, protruding details on the armor, etc. The final stage of sculpting is the addition of small details, such as skin pores, notches, cracks, and scratches. It requires a large number of polygons to provide this level of detail, usually millions. That’s why the model created during sculpting is called a high-poly model.
Throughout the 3D sculpting process, the artist makes sure that all elements of the character look good together and strive to create the necessary impression given by the concept art.
There are many programs suited for 3D model sculpturing out there, but for professional work, ZBrush will be the best choice.
Retopology
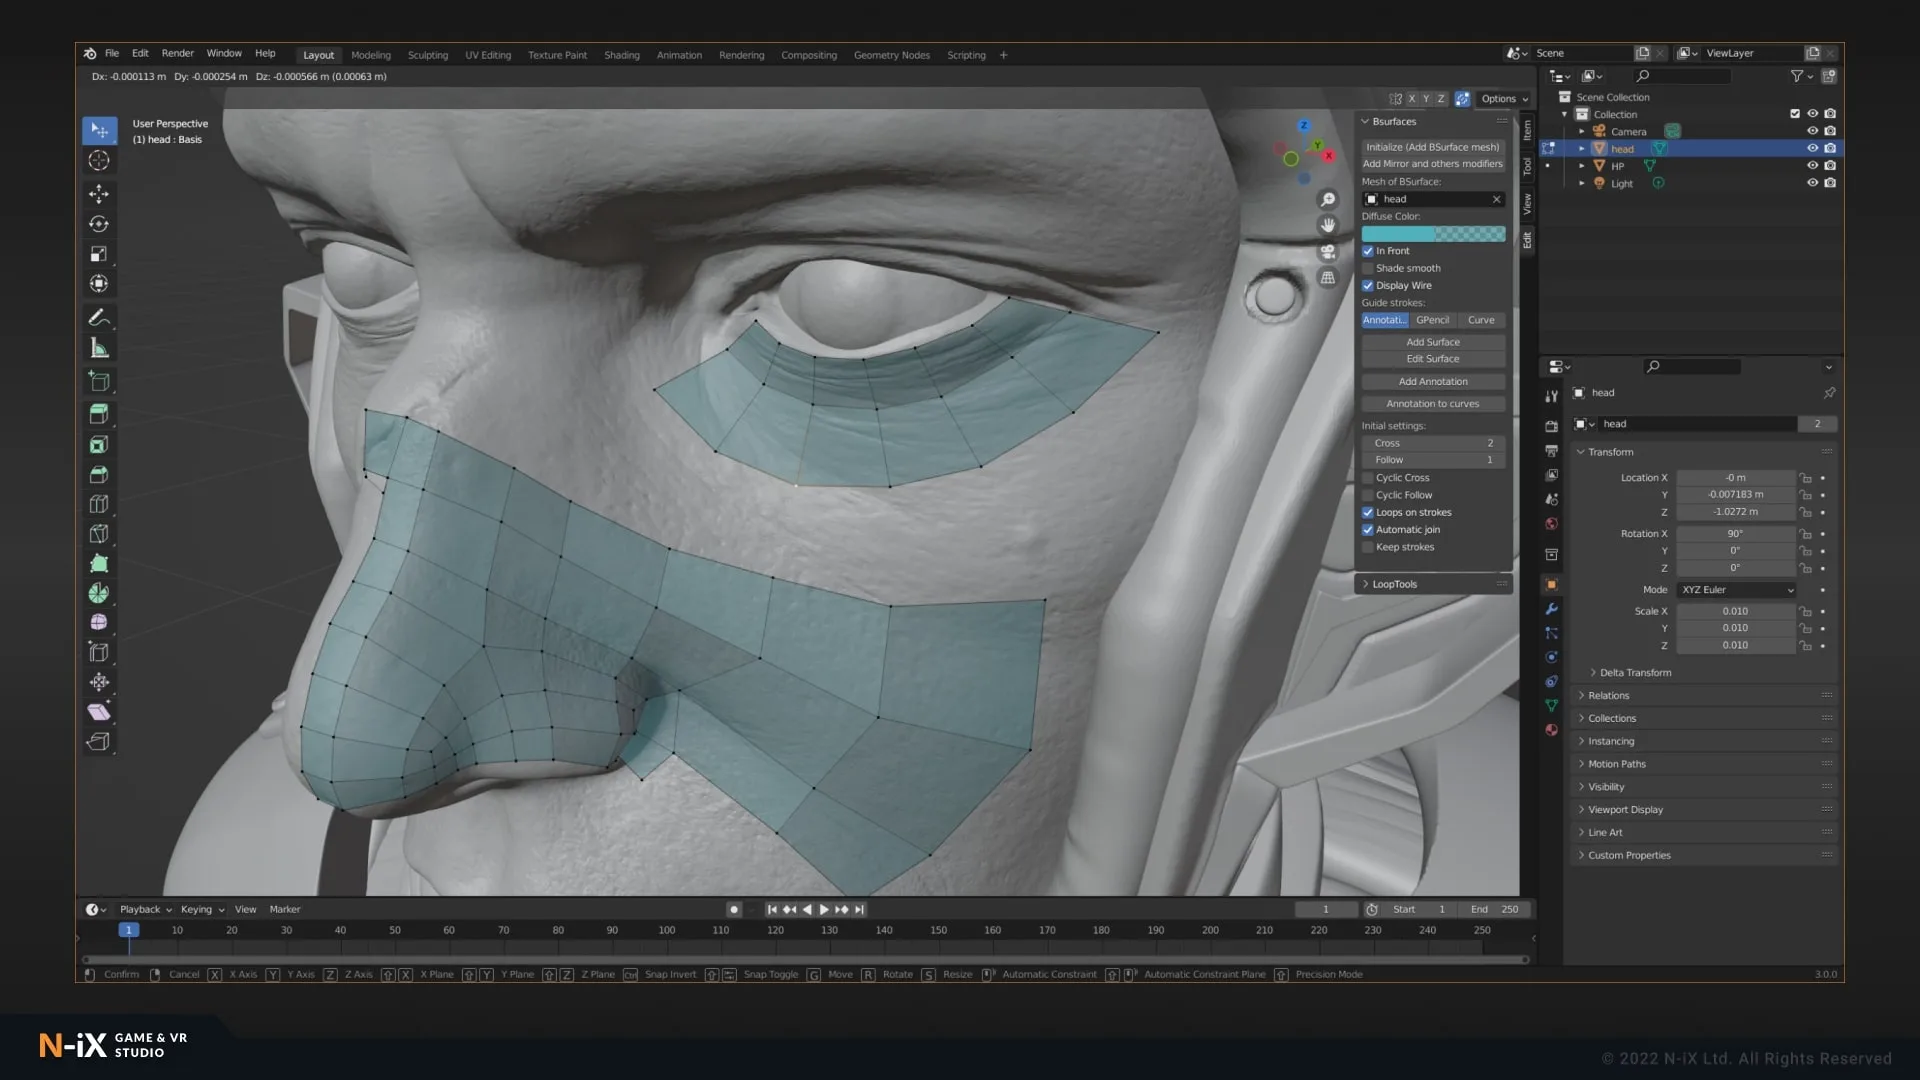
Now that your high-poly model is done, it’s time to start optimizing it. Your model with several million polygons definitely looks great, but it won’t do any good for a game’s system requirements, and surely won’t make the process of skinning a chaotic mesh topology an enjoyable one. Hence why we need the retopology stage, the very essence of which is to significantly reduce the number of polygons and create an optimal topology of the mesh for the model to be later animated.
UV Unwrapping
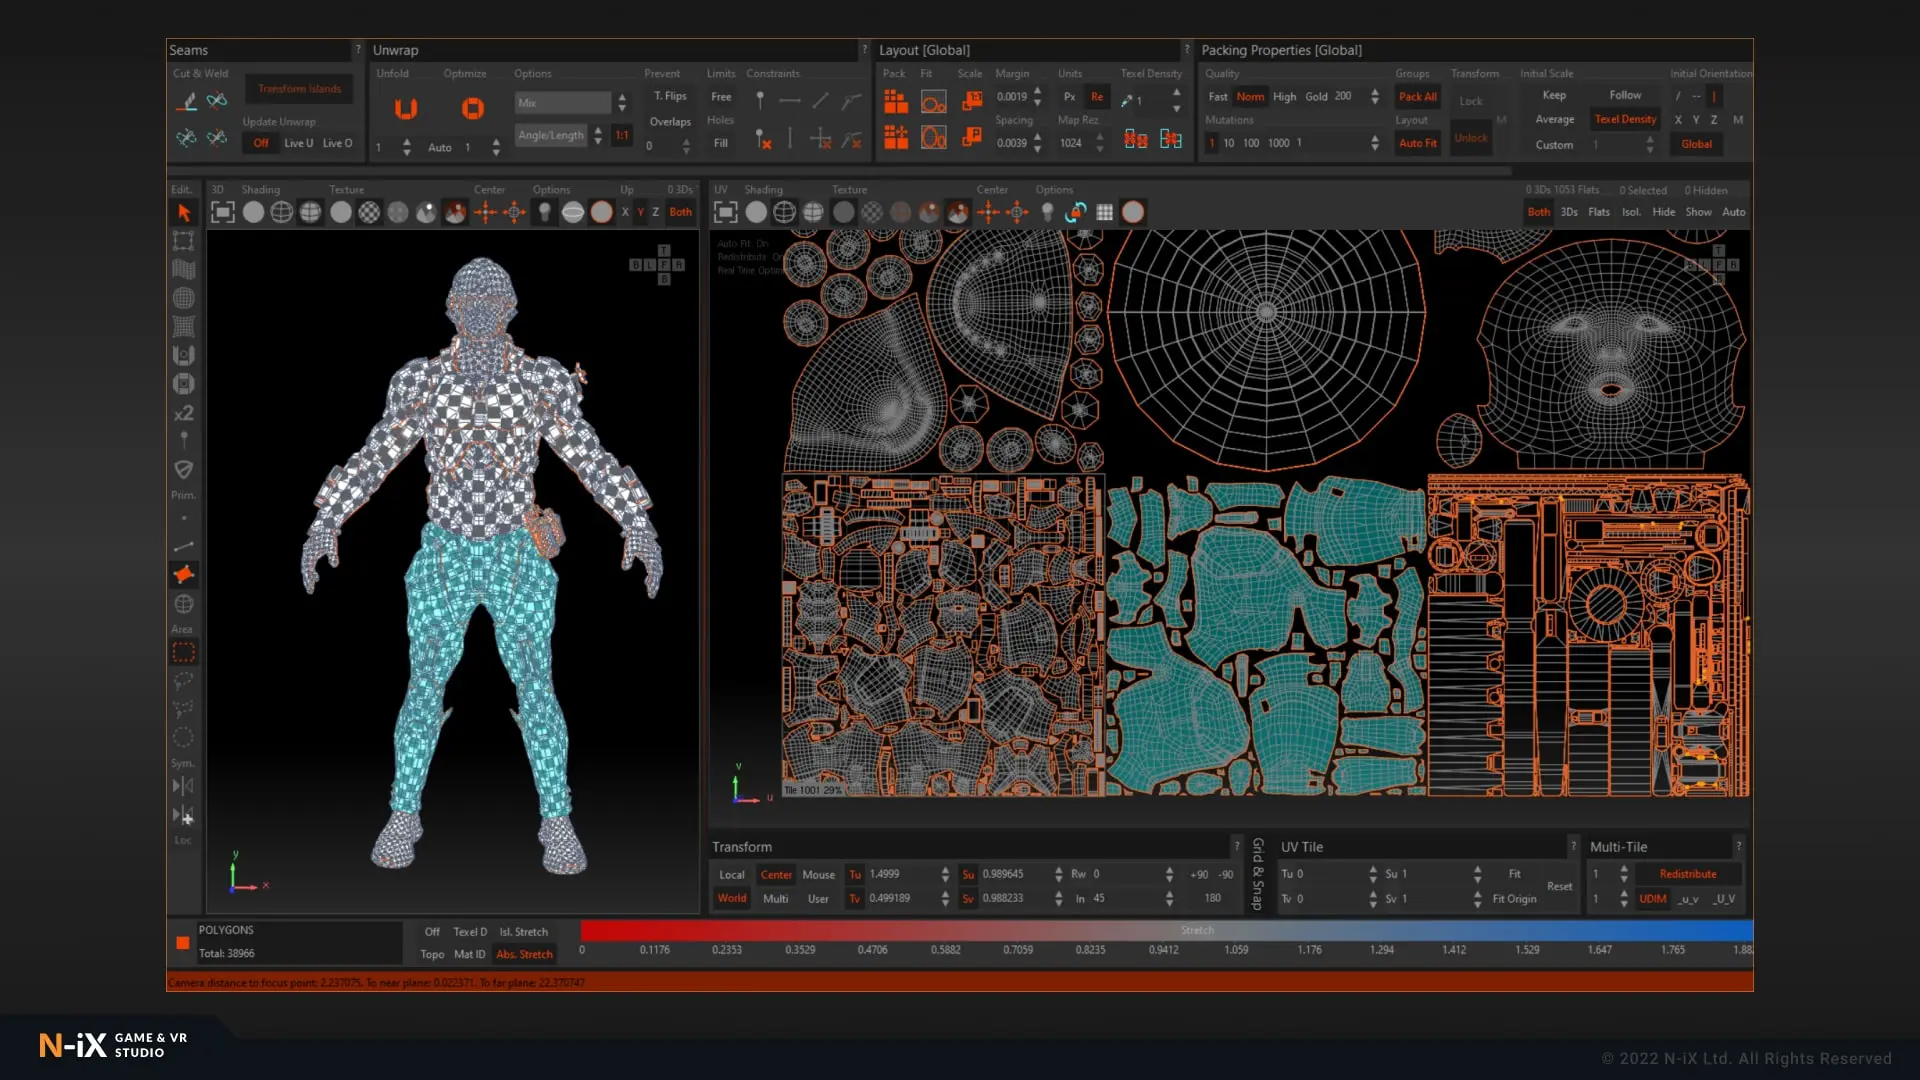
Now that we have received a low-poly model, it is necessary to create a UV unwrap. You need a UV unwrap for further baking of maps and adding textures. In essence, this is a 3D model that is unwrapped into a 2D dimension. It’s like a candy wrapper that is being unfolded and flattened.
When unwrapping a game character model, try to hide all the stitches in less visible parts of the model. For instance, in armpits, the inner side of a hand, etc. If a certain part of your character’s model needs to be more detailed than others, you can give it more stape when doing UV unwrap.
Baking
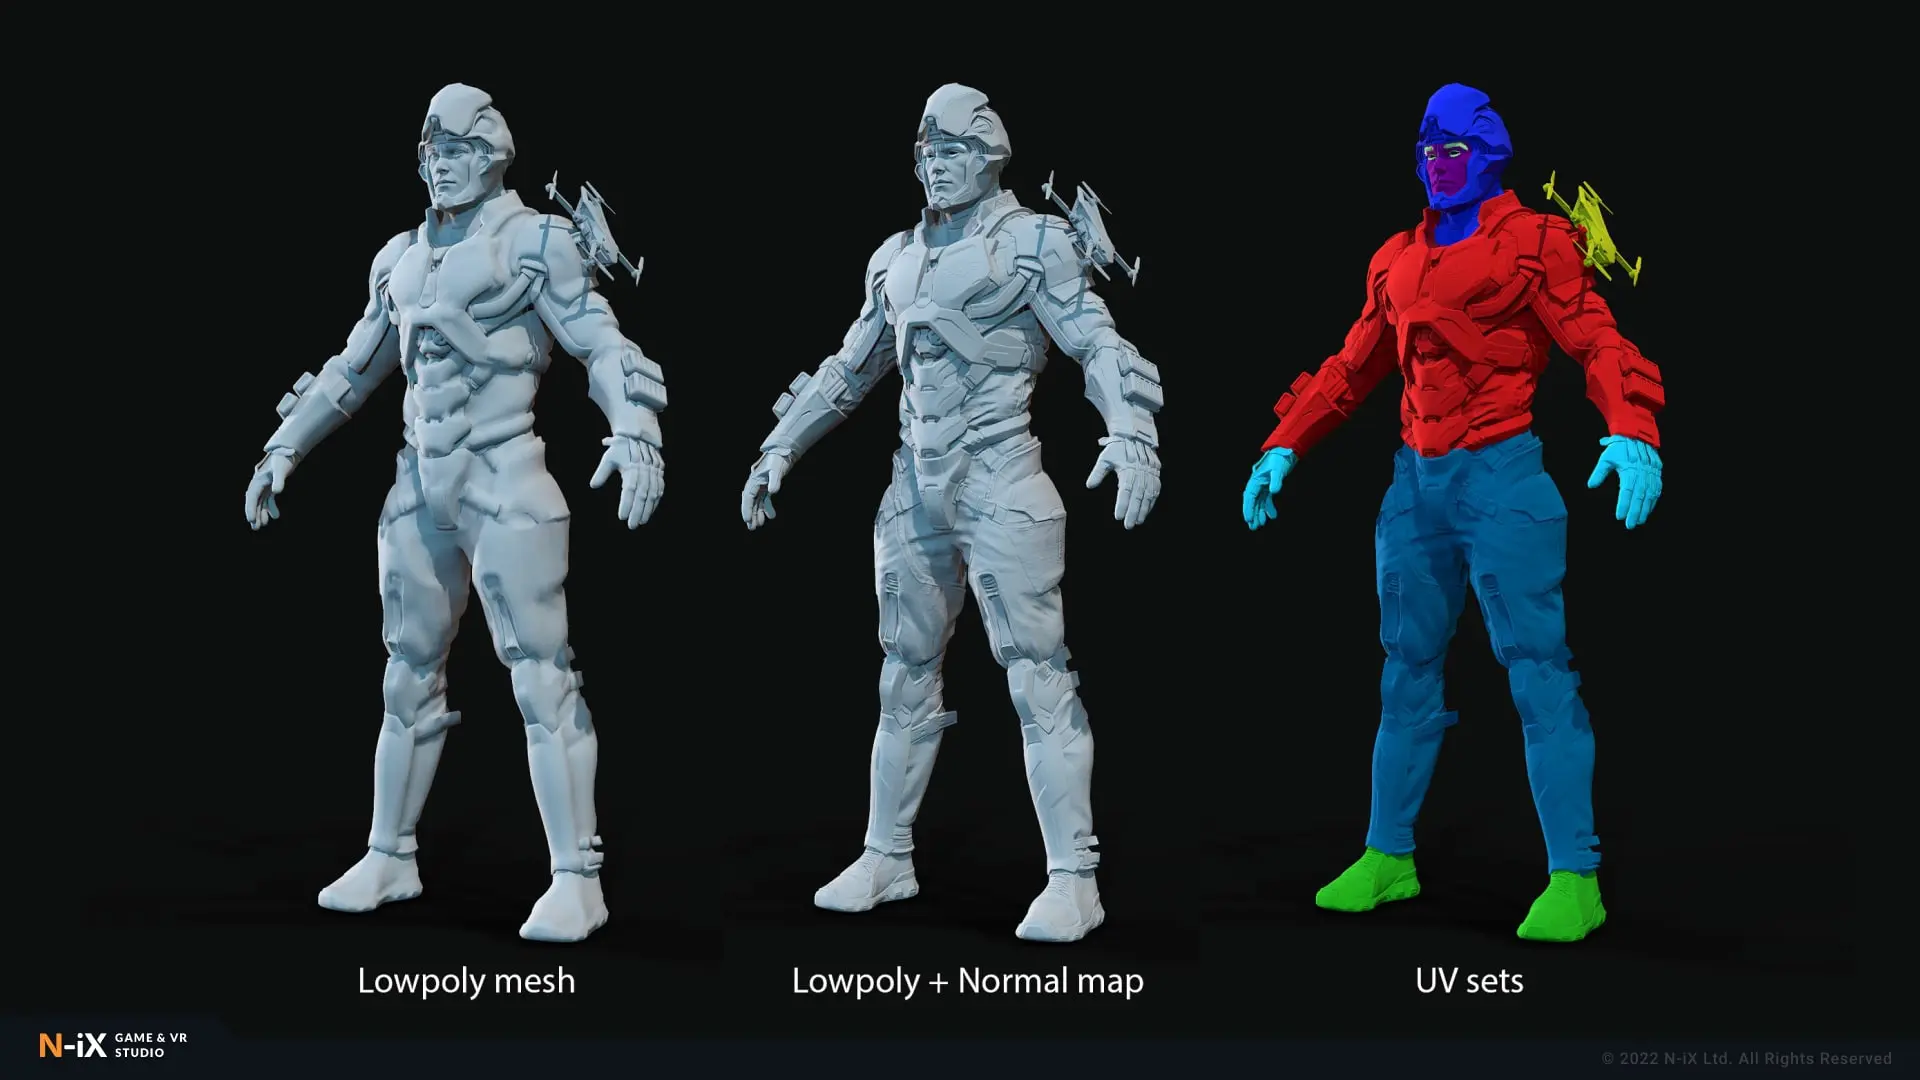
Baking is a process when you transfer details from a high-holy to a low-poly (optimized) model with special maps, such as a normal map, ambient occlusion, curvature, and so on.
In this way, we will get a low-poly model that looks almost identical to the high-poly model, but it will be light enough for animation and use in the game engine.
By far the best baking tool in our opinion is the Marmoset Toolbag as it has very handy and flexible tools for getting baked cards.
Texturing
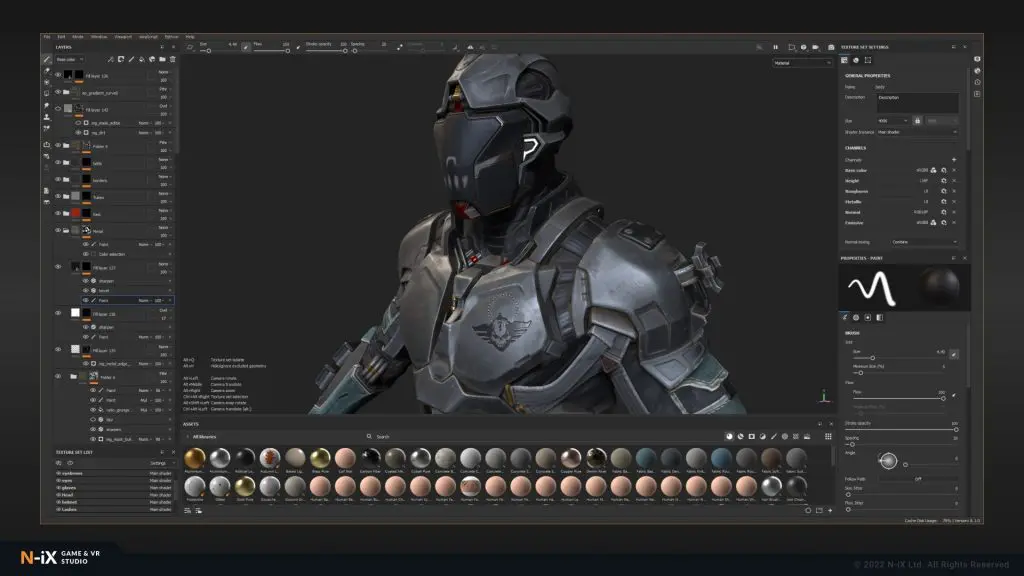
Just like sculpting, texturing is a complex and creative stage. During this process, the elements of the model are given the properties of materials, such as color and shining, micro-details, various defects, etc.
You can now start texturing your 3D character model in Substance Painter. Here you can use either custom textures or those offered by SP, which are usually just enough to create a model.
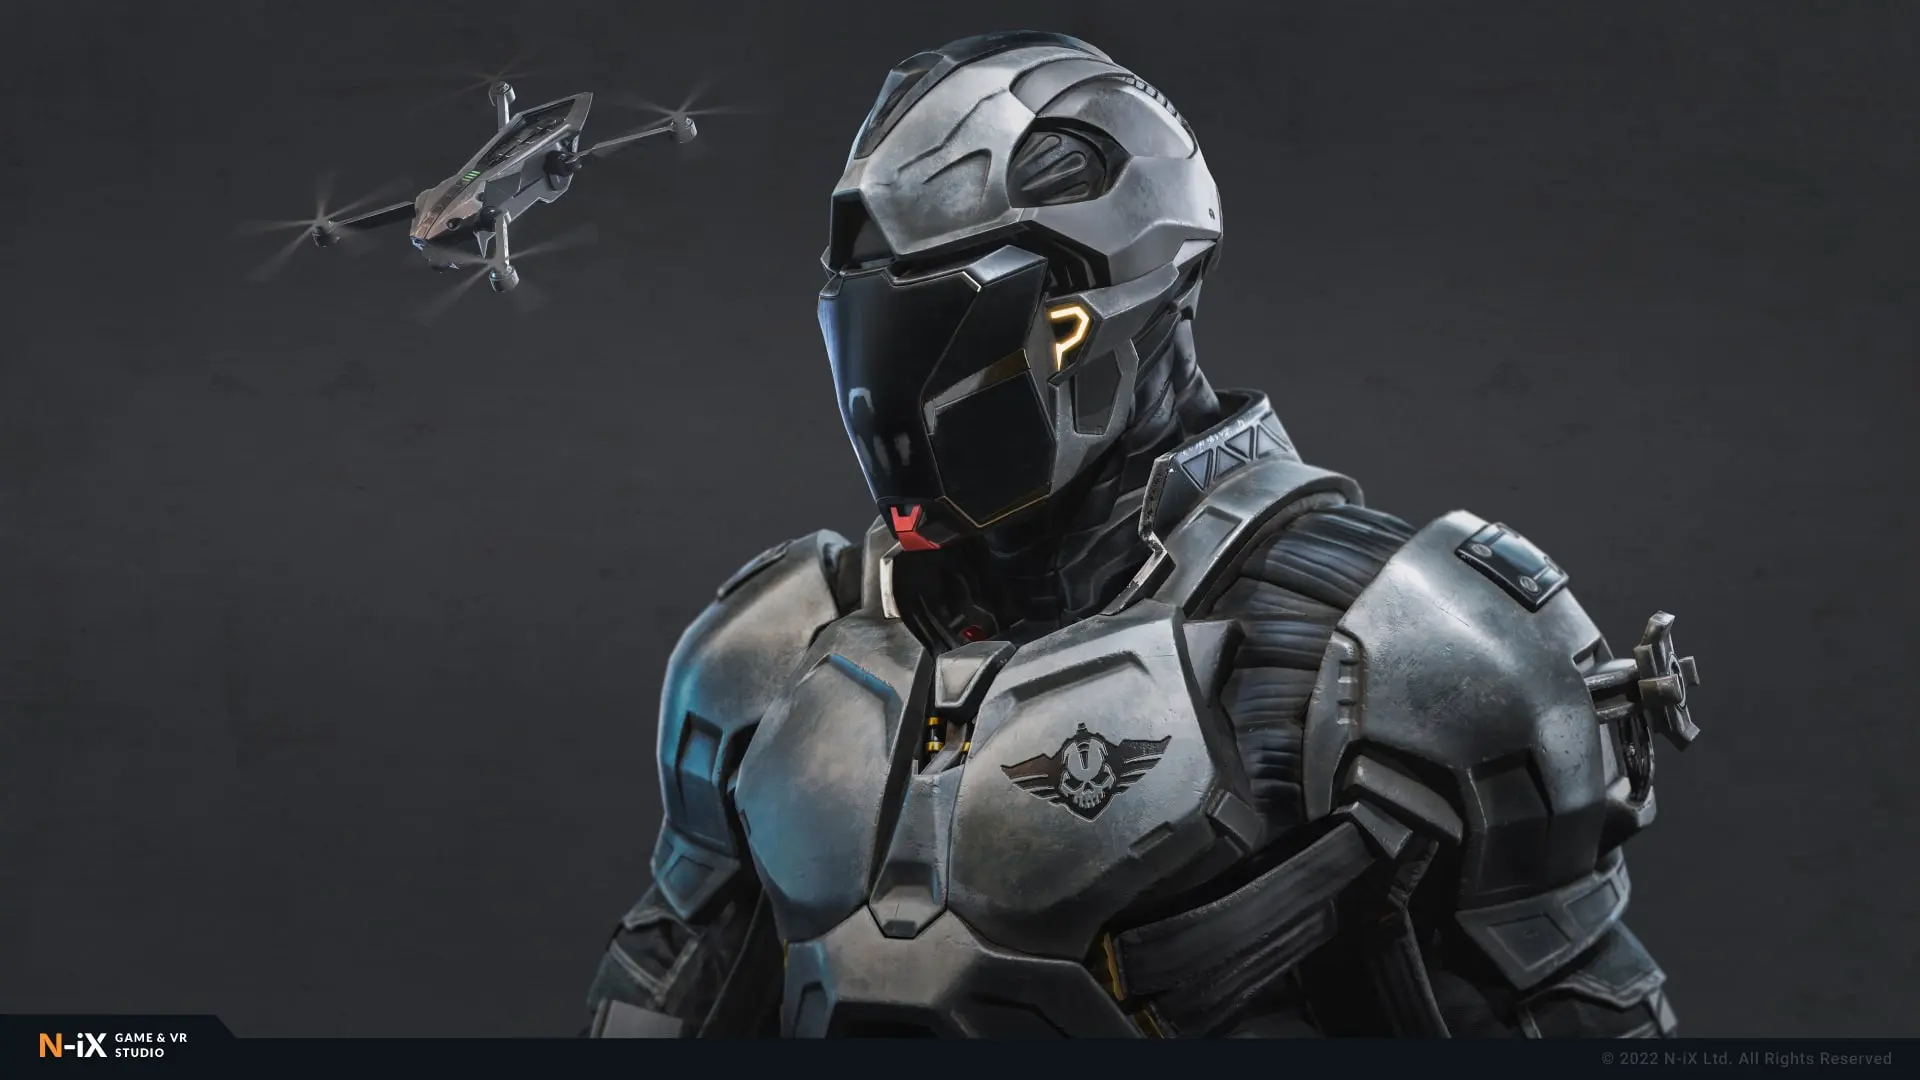
If you’re good at applying textures, you can really breathe new life into your 3D models. You can apply various wrinkles and scars to your characters or cracks and bumps to armor/weapon surfaces, and thus create more depth to the final work. The more you invest in this process, the more quality the overall result will be.
Rigging
Now is the time to make the 3D model ready for animation. Here you will create bones (joints) to form the character’s skeleton and bind the 3D mesh to it. In the case of a humanoid character, you can use a standard skeletal rig and tailor it to your model.
Then comes the skinning itself. During this stage you make the mesh respond to the skeleton and determine which part of the model should move when the rig moves. Brace yourself as it is a pretty time-consuming process. Here we remember about the Retopology stage since if you did good creating a decent topology back then, it will be easier for you now. The process of skinning includes giving weight to each part of the model, which will influence the vertices of your model and the moving factor. After that, you have to create a control rig to make move the skeleton and the character itself.
After this stage, your model is ready to be used in animations and imported into the game engine.
Animation
When it comes to 3D animation, there are two technical directions: keyframe and motion capture animation. Keyframing is a continuation of classic animation used by Disney and others but with the application of 3D tools. Each animation sequence has a starting and ending point for every action, and these markets are called keyframes. In other words, keyframes are starting and ending positions of your character during movement. The creation of in-between frames by the animator makes motion smoother, and with animation software, you also can get an automatic transition between character poses called interpolation. Motion capture, in turn, implies recording the movements of human (or animal) actors and reproducing those movements on digital 3D characters.
If you are creating a realistic character with natural body moves, like in our case, the best way is to use the combination of these animation directions for optimal quality and effort efficiency. In this way, motion-captured information will serve as a foundation for the animation, which an animator can later edit to get rid of twitching, add weight and expressiveness to moves, etc. And when you need to create a non-realistic character (fantasy or sci-fi creature) that has expressive and stylized movements, your choice is keyframe animation from the get-go.
About N-iX Game & VR Studio
N-iX Game & VR Studio started out as a separate unit of N-iX, a leading Ukrainian software company, in 2012. Since then we have delivered more than 80 game projects and vastly grown in number and expanded the array of our services. Today, our team consists of 240+ specialists, over a hundred of whom are 2D and 3D artists. In addition, to outsource 3D modeling, the range of our services includes Unreal Engine/Unity development, VR and blockchain solutions, full-cycle development, cloud solutions, animation, motion capture, 2D art creation, and others.
Our Expertise in Outsourcing 3D Modeling
N-iX Game & VR Studio has been providing 3D modeling outsourcing services for more than 10 years, and our artists had the pleasure to work with some of the top players in the game development industry:
Paradox Interactive
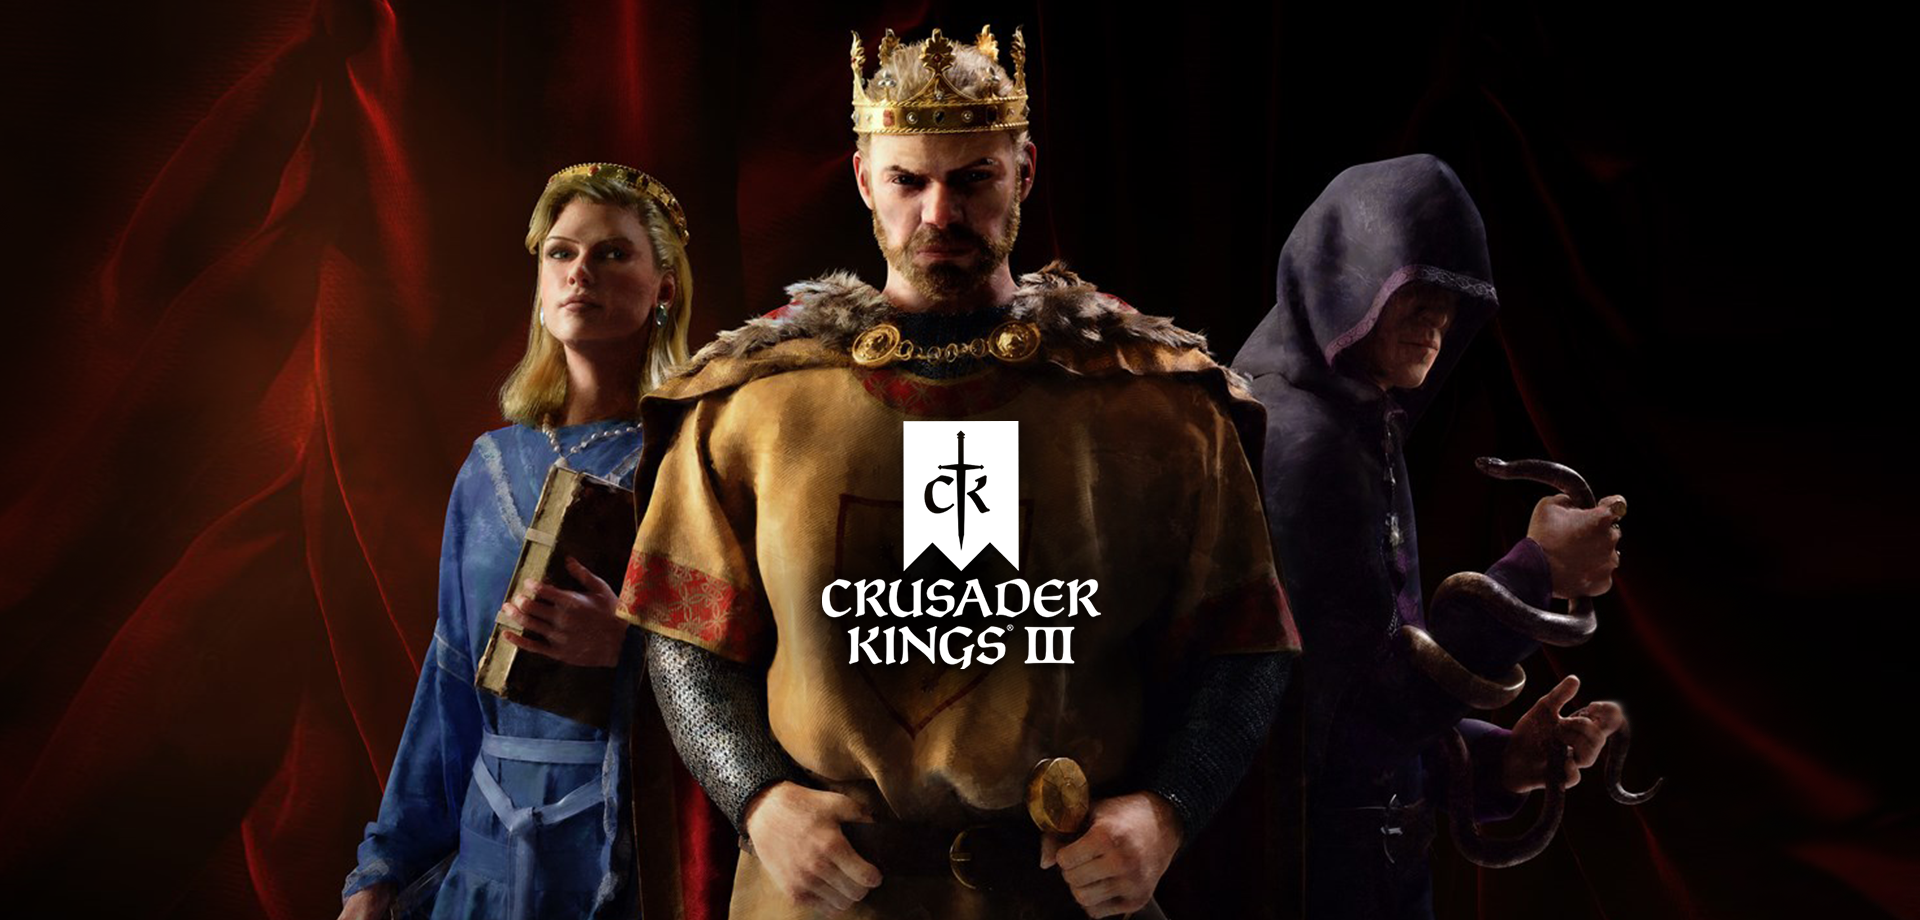
Paradox Development Studio are the ultimate masters when it comes to creating grandiose, complex, and historically-accurate strategy video games. N-iX Game & VR Studio and Paradox Interactive have been partners for over 5 years now. During this time we contributed both with 3D modeling outsourcing and 2D art production. Our team of artists participated in most of their projects and DLCs since 2017, including such games as Stellaris, Crusader Kings III, Victoria 3 Imperator: Rome, Europa Universalis IV, and Hearts of Iron IV.
Supermassive Games
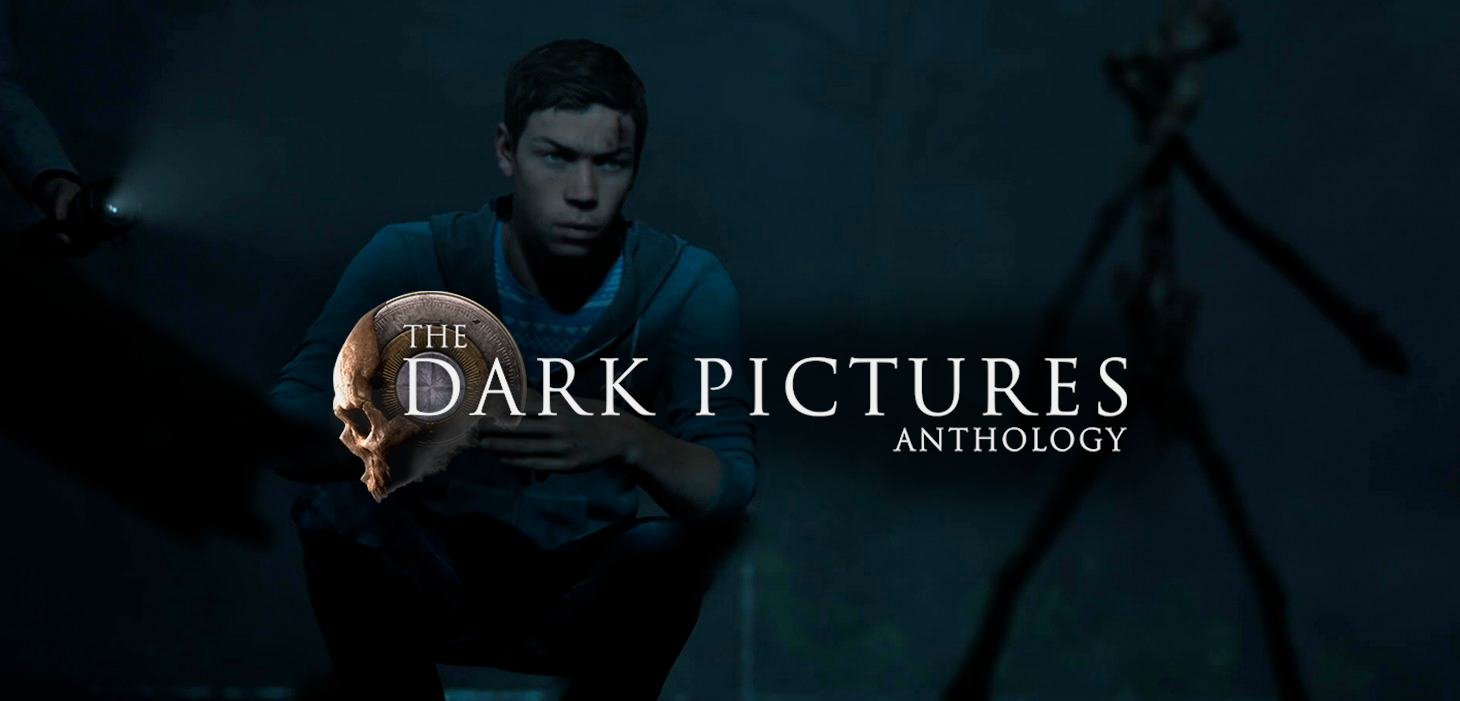
Supermassive Games is an AAA-level game development company best known for their interactive, story-rich drama video games with hyper-realistic graphics and intense decision-making along the plotline.
N-iX Game & VR Studio partnered up with Supermassive Games in 2021, and now our developers and 3D artists are delighted to contribute to their game masterpieces with their outsource 3D modeling and Unreal Engine development expertise.
CI Games
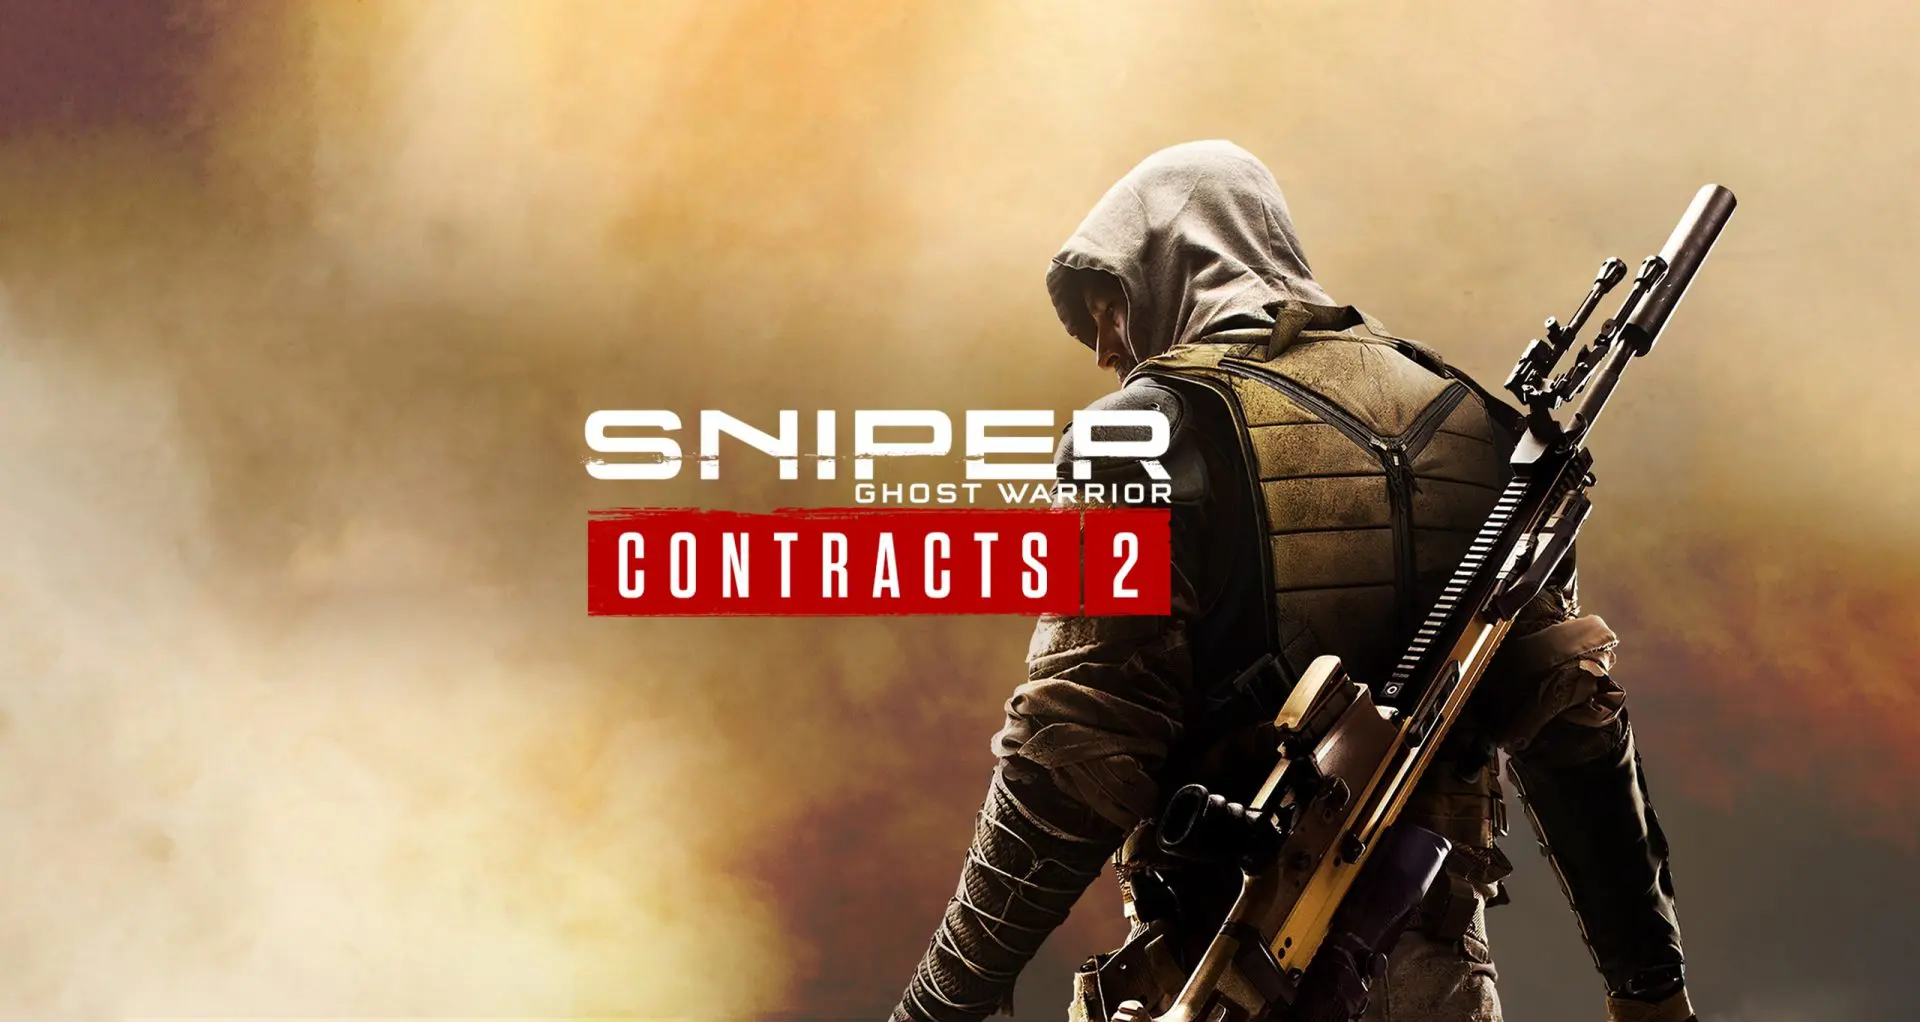
CI Games is an eminent game developer known for their tactical, stealth shooters. Their games have a strong emphasis on realism (both in terms of photo-realistic graphics and scrupulous accuracy of weapons and equipment).
For their long-awaited continuation of the sniping franchise, CI Games outsource 3D modeling to N-iX Game & VR Studio and entrust our artists with creating high-quality 3D models for their new game – Sniper Ghost Warrior Contracts 2.

