Enhancing laser beam visuals in your Unity projects can make a big difference in how realistic and engaging your game looks. Especially if we are talking about some sci-fi laser-heavy games like Helldivers, Star Wars: Battlefront, StarCraft, and many others. In this article, Oleksandr Lietiaiev, our Unity Developer/Render Programmer, explains step-by-step how to use volumetric rendering techniques, adding texture and complexity to your laser effects and making them more visually impressive.
Volumertric ray casting
When it comes to laser beam effects, a simple line mesh aligned with the view direction will often do the trick. If we want to add complexity and perceived volume, we can stack textures in the shader or use multiple line meshes, depending on the circumstances.
However, from certain angles, especially when you look closely along the ray’s direction, you can clearly see through the illusion of volume.
View-aligned line mesh:
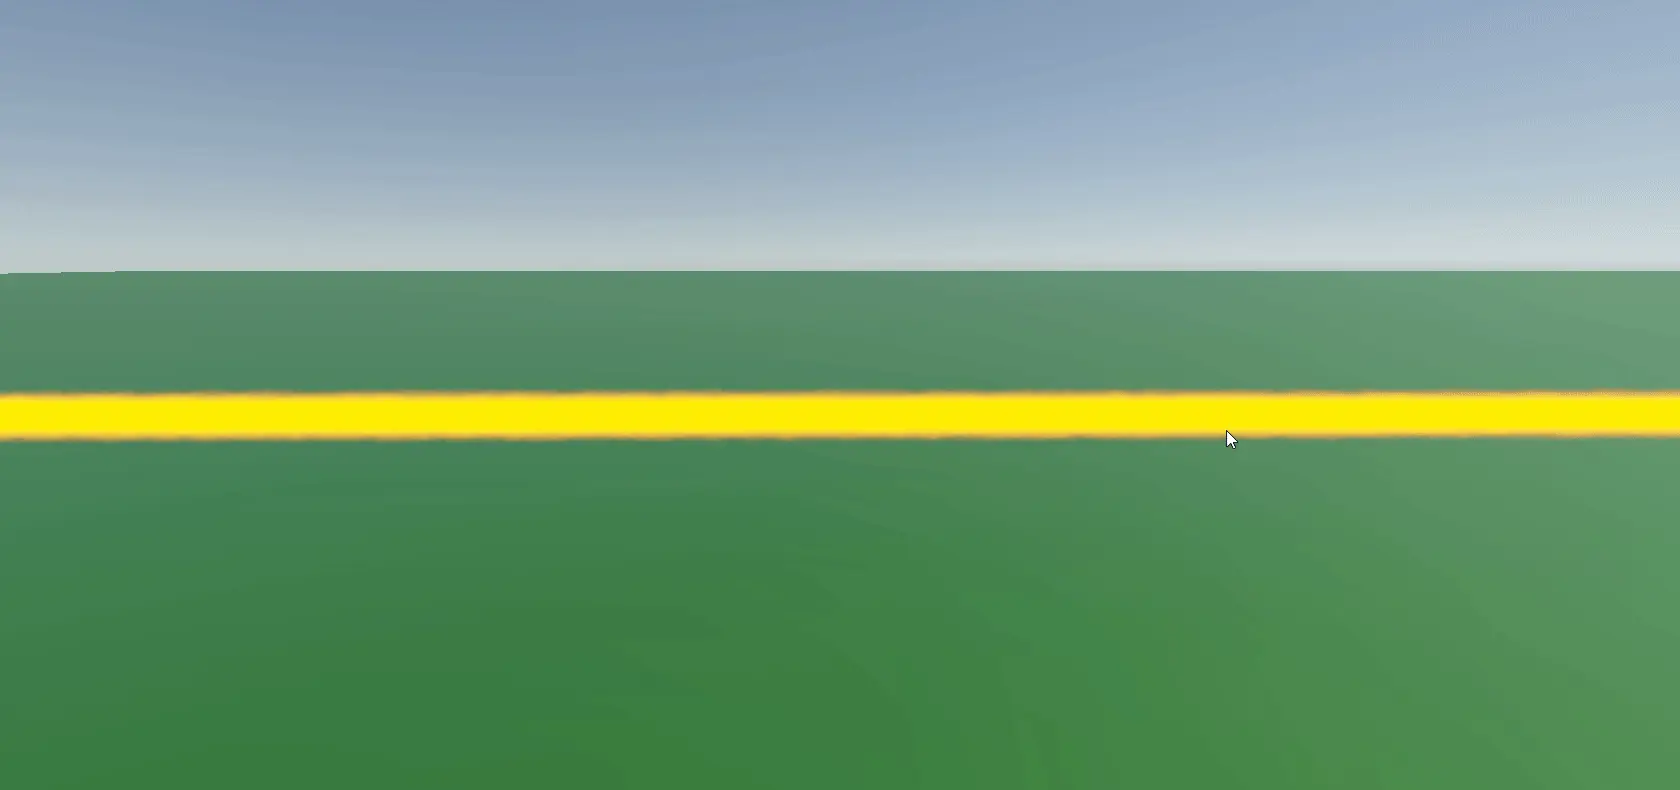
When the view direction aligns more closely with the ray direction, the lack of volume becomes increasingly noticeable.
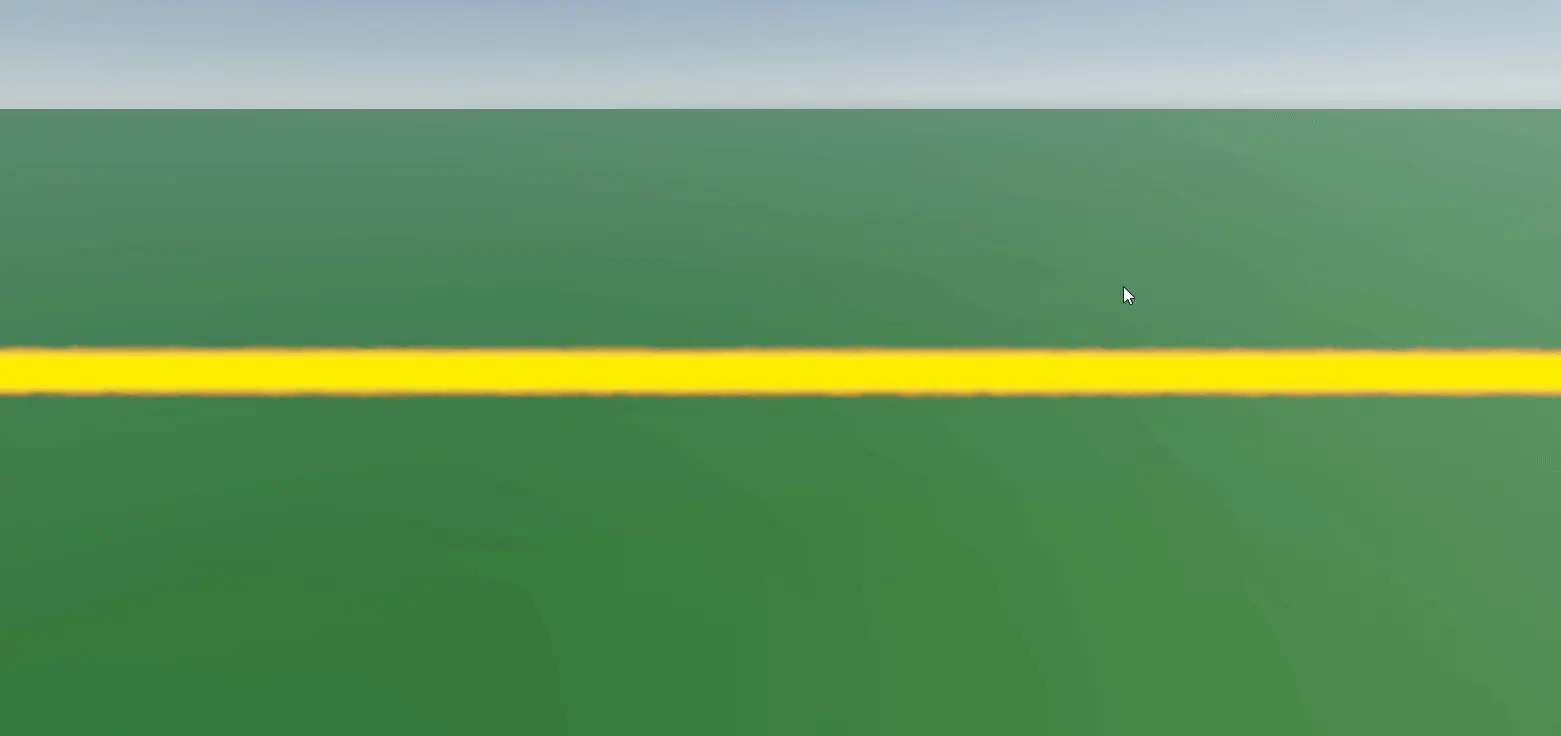
To improve the laser’s visual fidelity, we can create a volumetric laser using raycasting from each fragment in the direction of view (from the eye to the fragment).
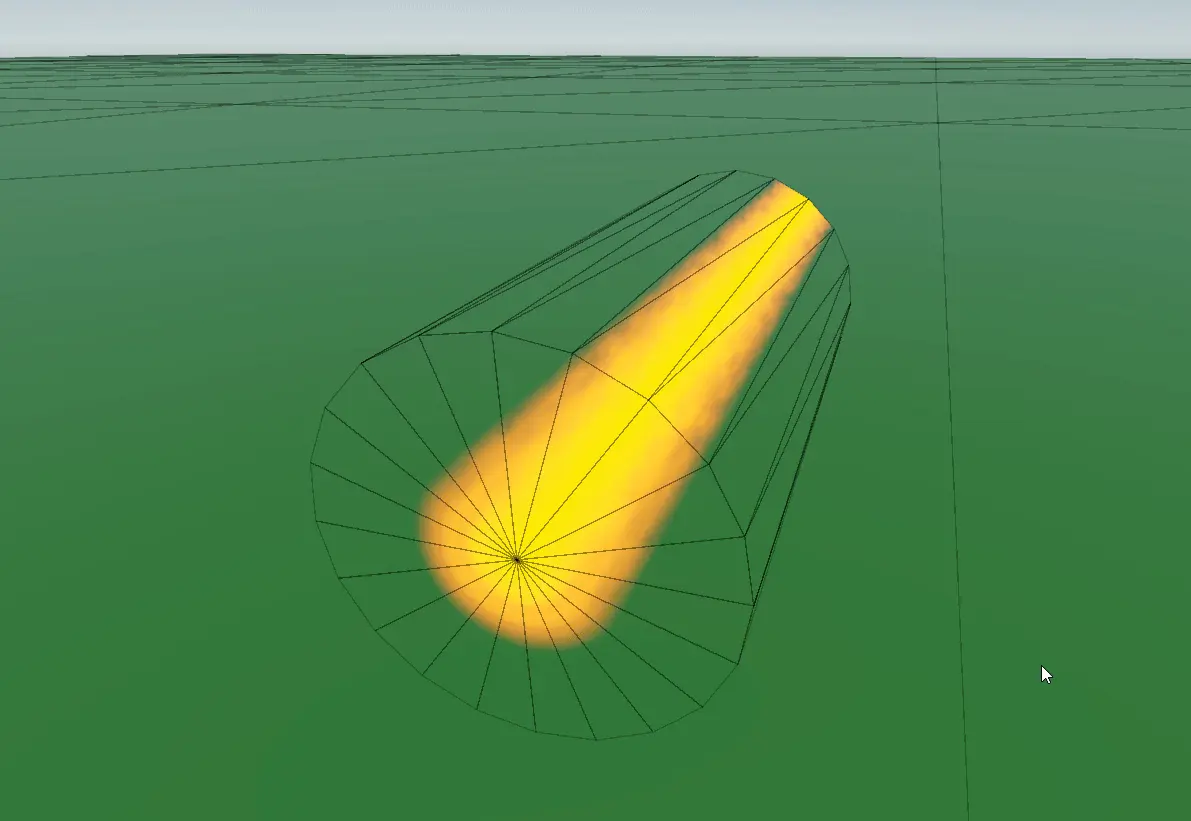
In this case, we need to find points along the view ray and the cardinal ray of the laser beam where the two rays are closest together. The distance between these points, divided by the width of a cylinder, indicates the densest point our view ray crosses, i.e., the perceived apparent density. This perceived density value will be the main visual effect of the laser, and it can be easily controlled by multiplying, smooth-stepping, or using other favorable operations.
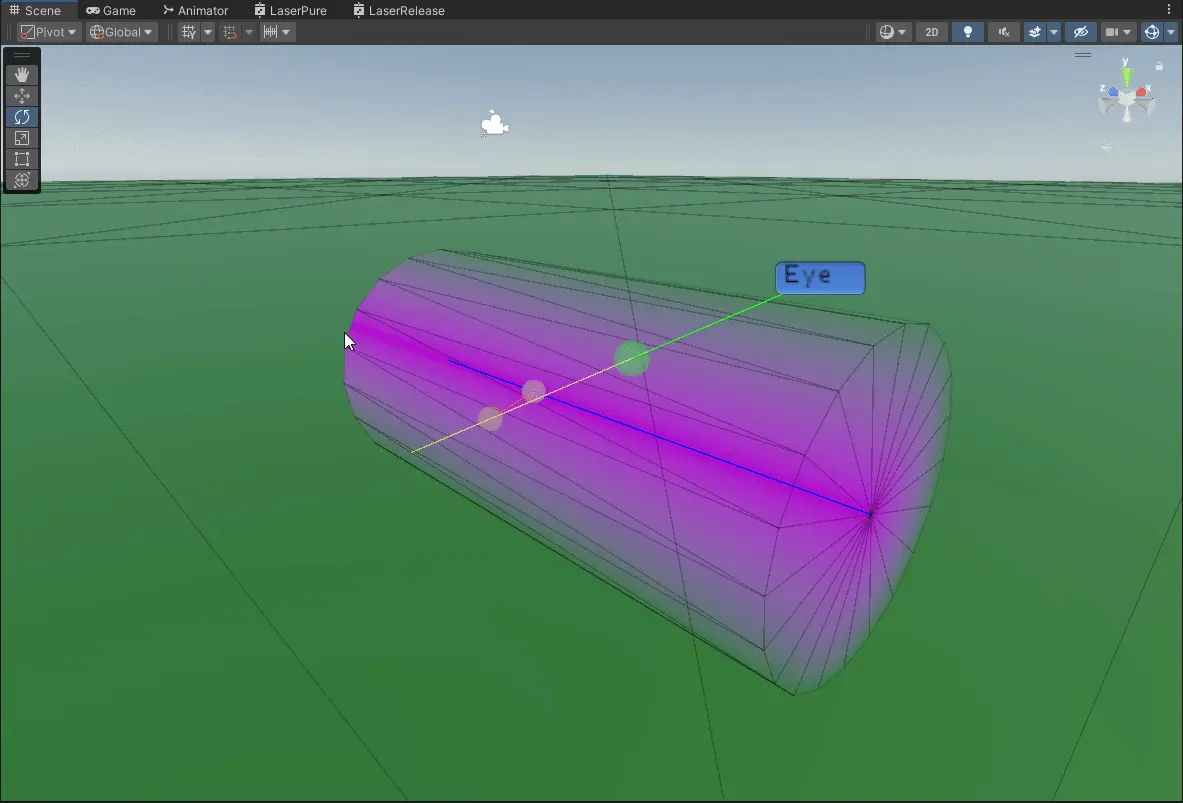
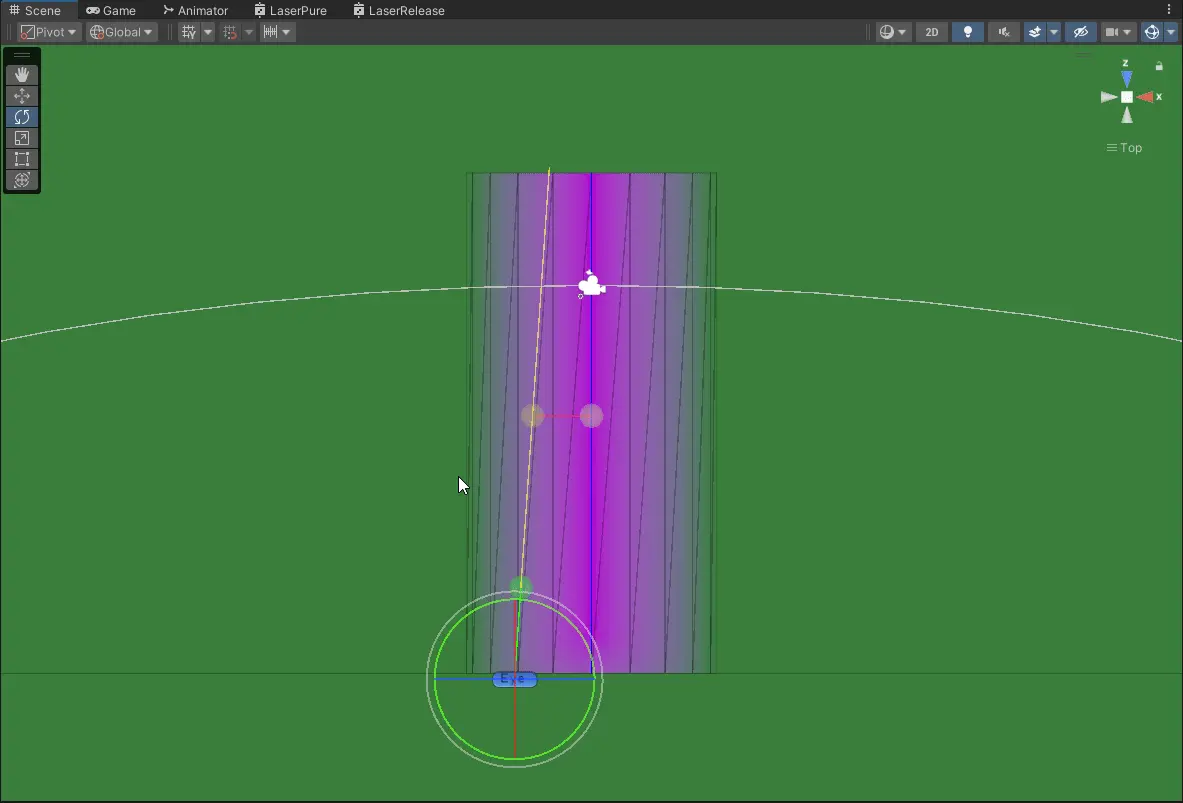
In the following example, the opacity of the purple color indicates the perceived density of the cylinder:
- The blue ray is the cardinal ray of the cylinder.
- The eye label indicates the eye position.
- The green ray indicates the view direction for a fragment, represented by a green sphere.
The shader will calculate the green ray retroactively. In the fragment program, we can subtract the current fragment position in world space from the eye position in world space. Then we can construct a yellow ray, shooting from the green sphere; this represents our view ray inside the volume.
The next step is to find the point on the view (yellow) ray and the cardinal (blue) ray where the rays are closest to each other, marked by yellow spheres. I suggest taking math from any credible source that provides a solution for this task and creating a function in an HLSL file, which can be used later in both handwritten and shader graph-based shaders.
The distance between the points will determine the perceived density of the volume, indicated by the red ray.
Here’s a sample of how our marked values change with the view direction, in perspective:
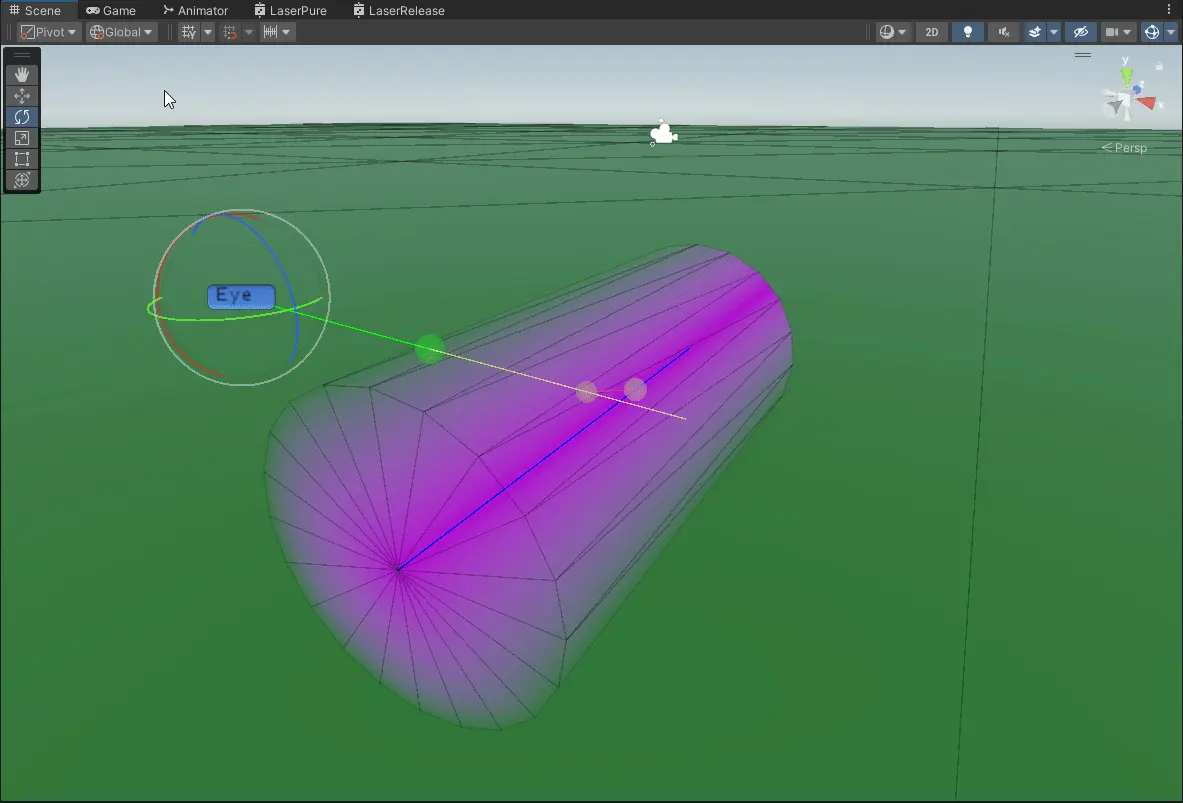
In perspective from above:
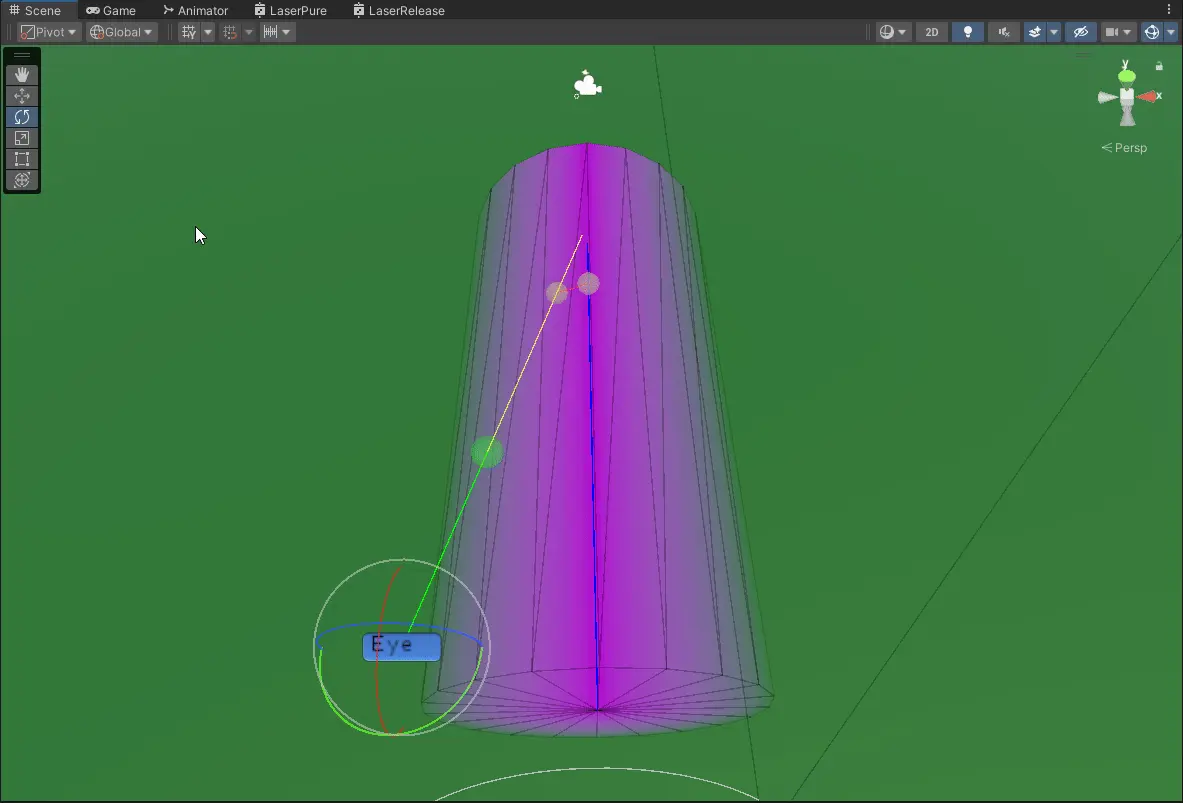
In perspective, view from front:
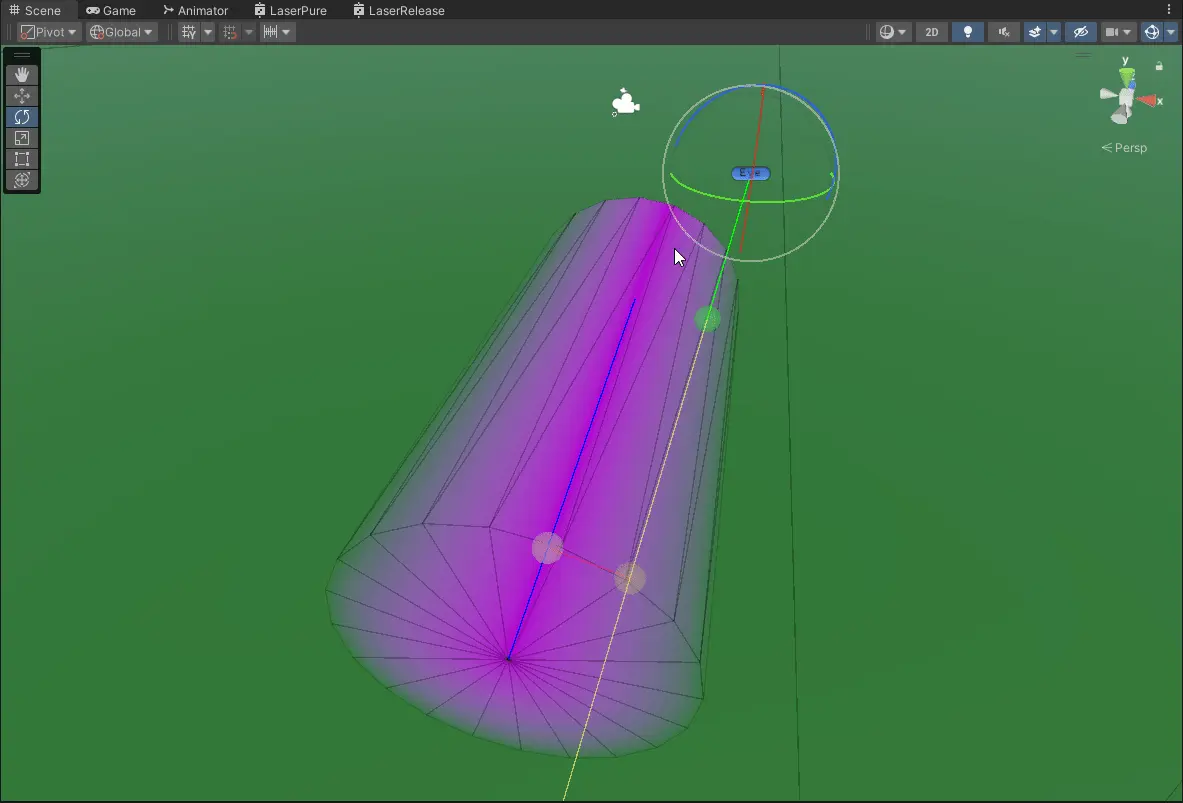
Orthographic projection, views from above and side:
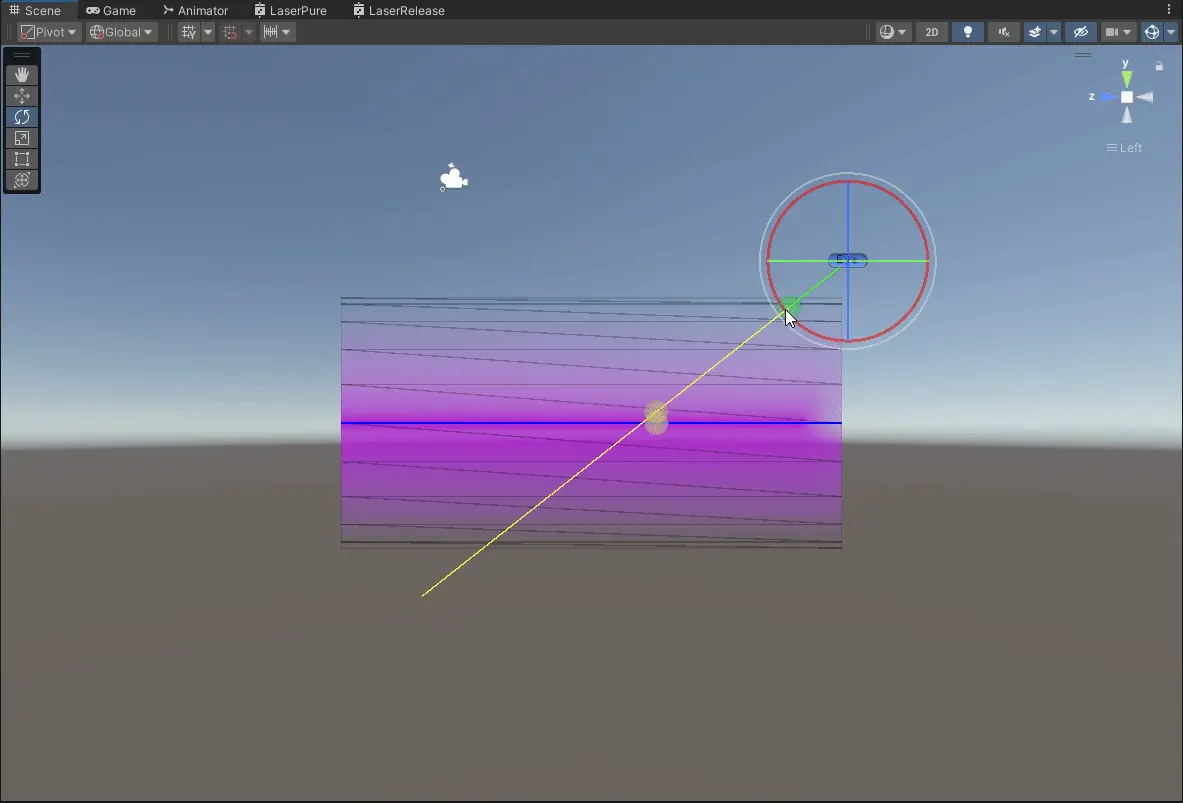
Once we have the perceived density as a baseline value, we can add a smoothstep, for example, to fine-tune the width of the ‘solid’ part and the width of the fade-out part. Additionally, we can sample some noise or texture, using the perceived density before any transformations as one texture coordinate (U), and the distance along the ray, indicated in previous images by the yellow sphere on the blue ray, as the other texture coordinate (V). Blending it with the smooth-stepped density will achieve an uneven, textured fade for the laser.
View on laser width control:
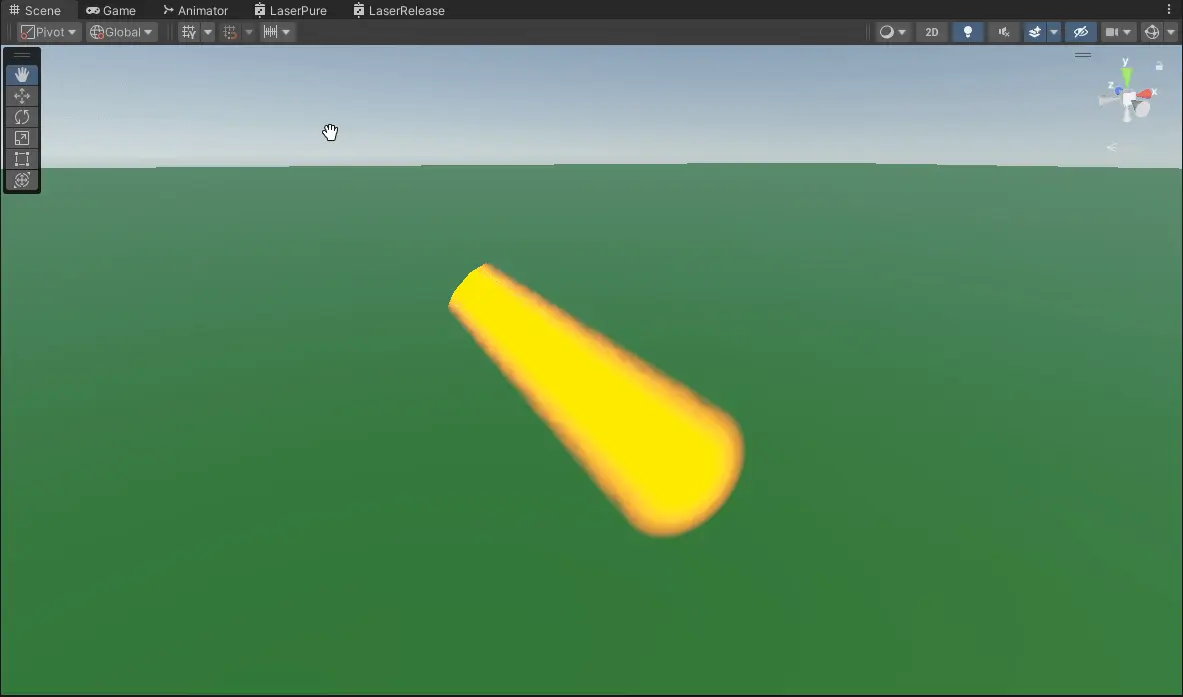
Laser fade width control:
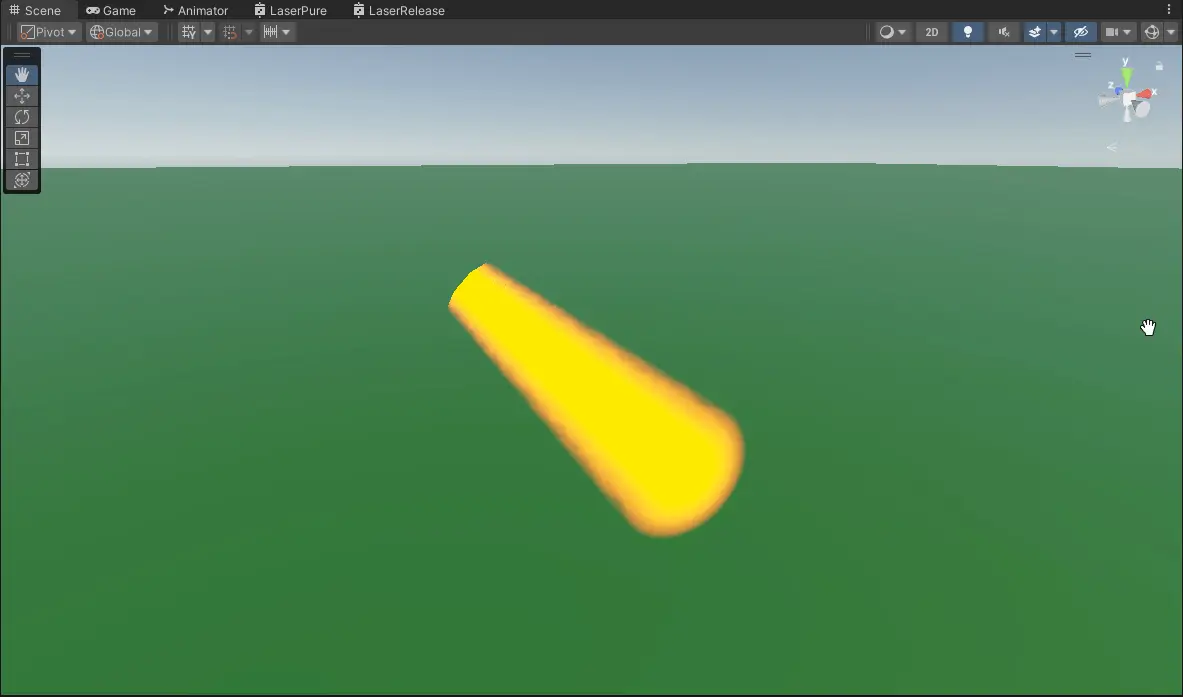
As a final touch, we can add UV scrolling to the noise sampling. Due to the nature of our UV, scrolling in one dimension will produce a forward-like movement, while scrolling in another dimension, controlled by density, will give an outward motion.
V scrolling:
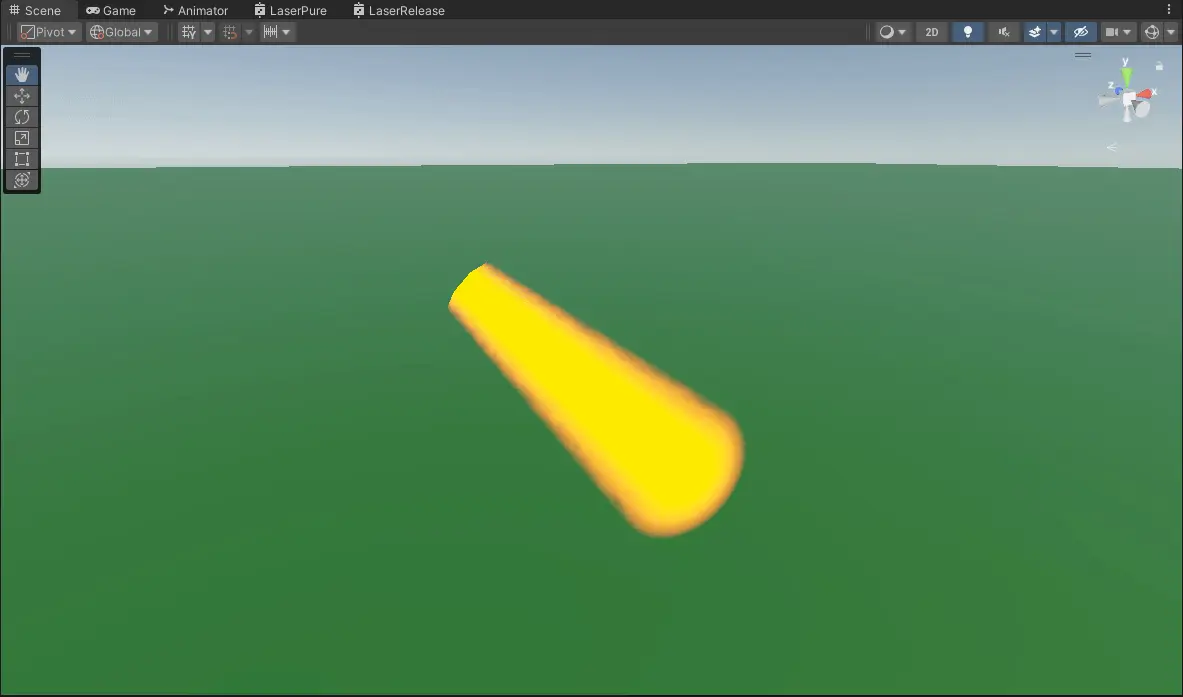
U scrolling:
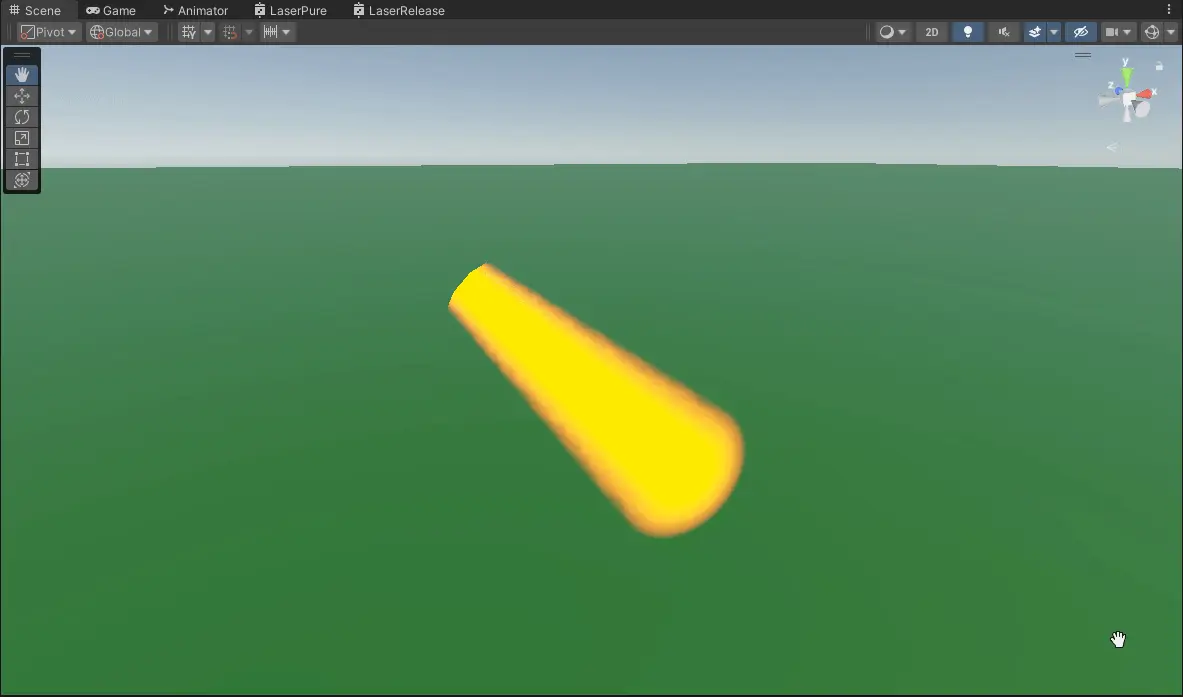
Combined motion:
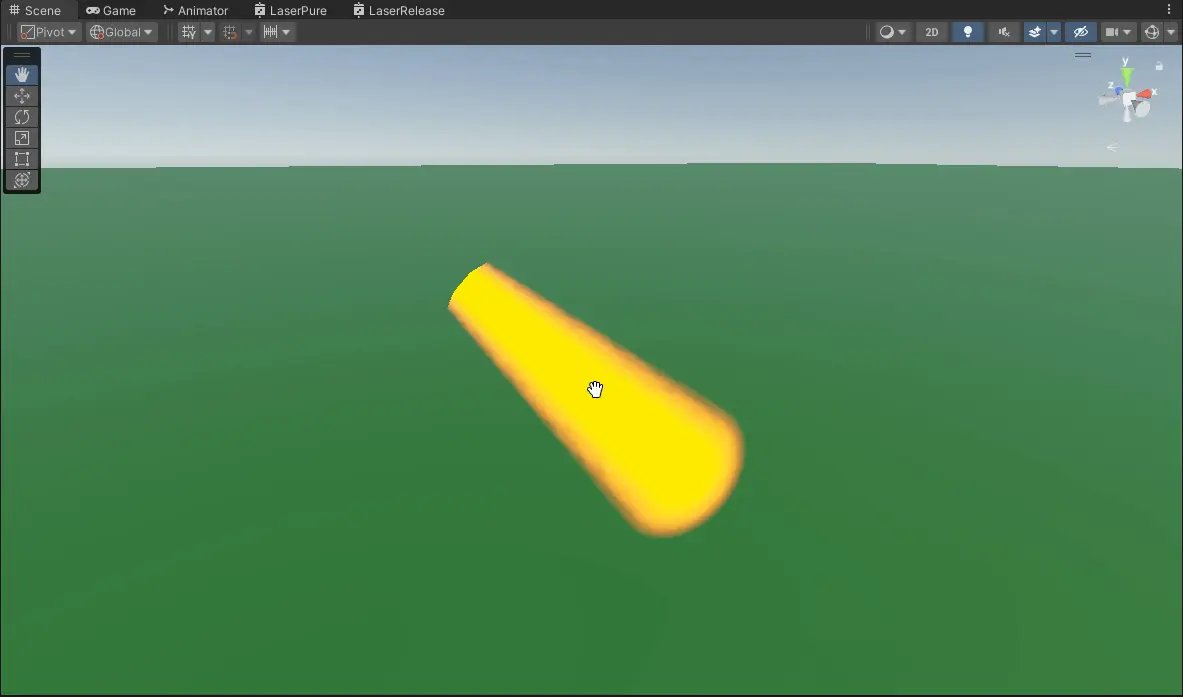
Here is one possible final result:
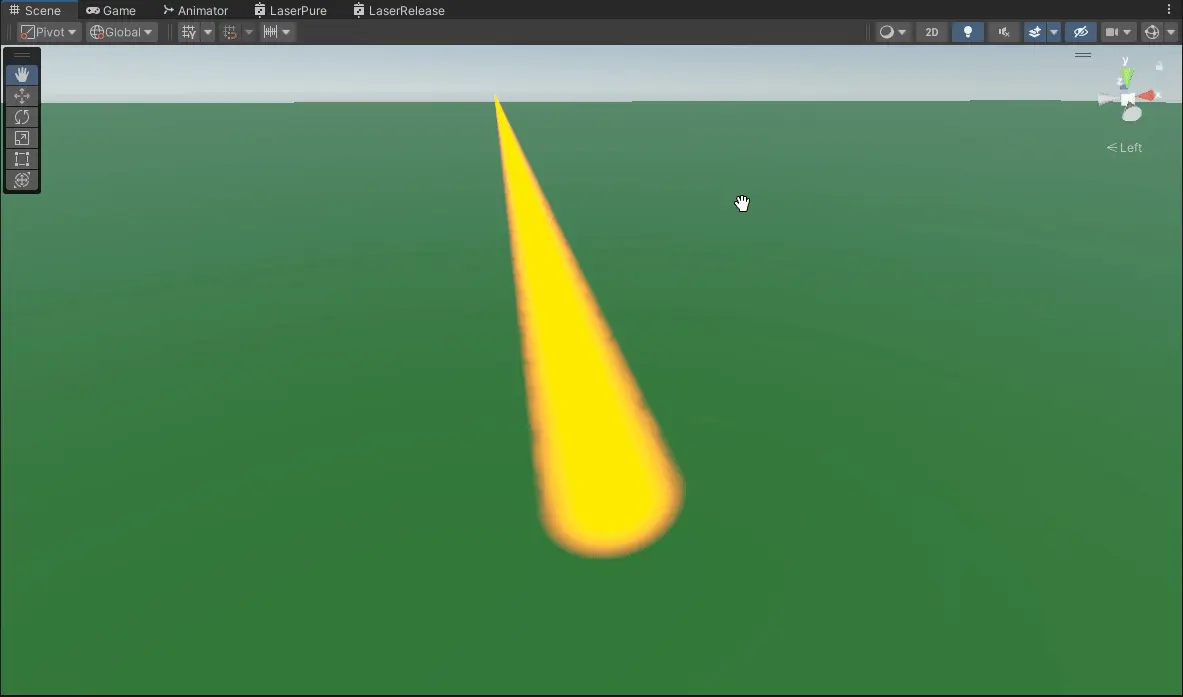
The result
In conclusion, using volumetric rendering, ray casting, and shaders, you can significantly improve your laser beam visuals and enhance the visual quality of your game. Here we can compare the classic line mesh rendering approach to the volumetric approach, where the latter has much juicier and pronounced visuals that improve game immersion.
Additionally, one can achieve various effects with different approaches to the density of an object, such as volumetric spheres, cubes, or various fog variations. More complex visuals for clouds, smoke, and similar effects can be achieved by using more expensive ray marching and sampling of 3D textures.

